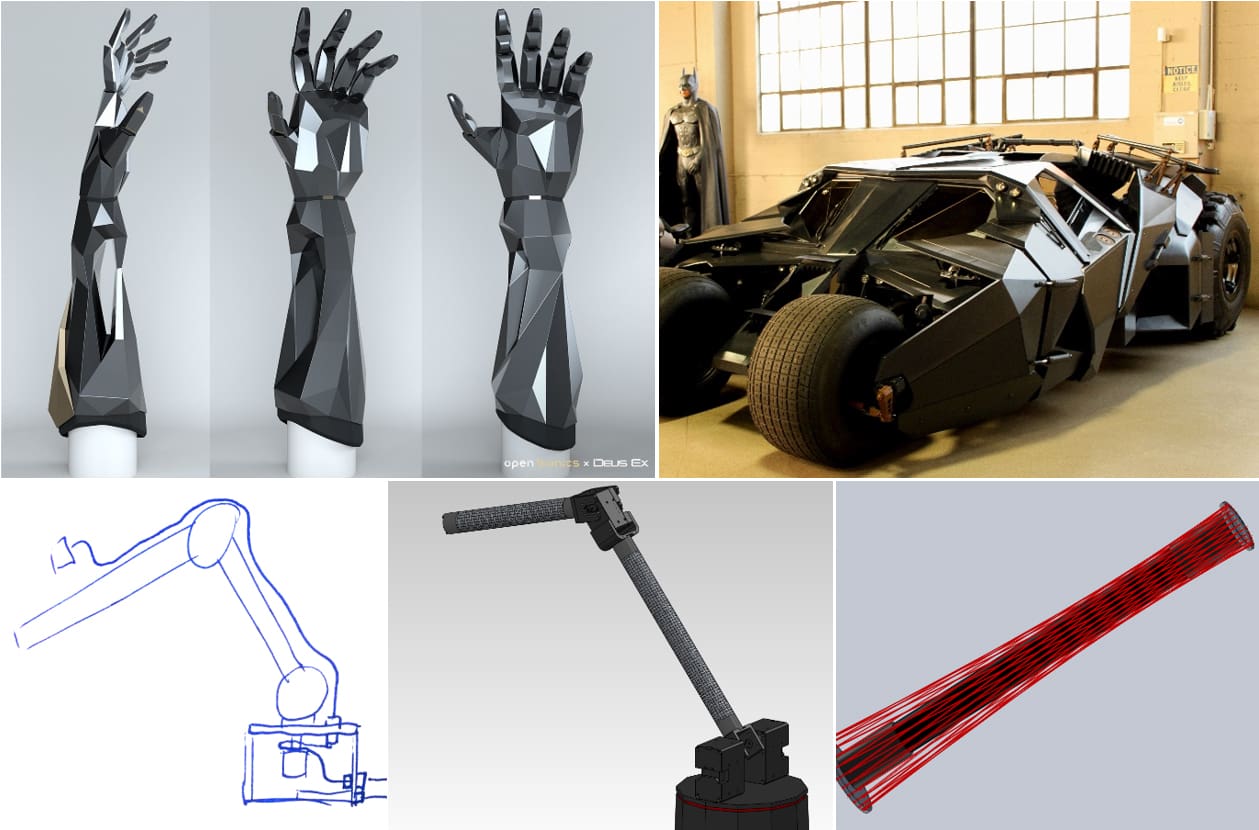
Over the past few weeks, my team and I have been talking a lot about the difference between designing a product as a prototype or proof-of-concept, as you would for a capstone project or Kickstarter pitch, and design for manufacture. We’ve taken to calling this concept the difference between a project and a product. As engineering educators, especially in the design and mechatronics spaces, we generally focus on the design process for a system that has a particular goal in mind. That goal is typically at worse functionality, and at best, a set of performance and design criteria that the system needs to display to be considered successful. But then what? In rare cases, a project might morph into a start-up, but generally speaking, design education ends at just that: the design.
Which begs the question, what is the process that a mechatronics company like Quanser follows when designing and developing a product? That was the question that my colleagues Simon Whitmell, Filip Vranes, and I recently discussed as part of a design breakdown for a class of mechatronics graduate students at Kingston University. To answer that question, we turned to the recent development of the QArm as a case study on how our products come together. In this blog I will focus on the general case and fundamental differences between a prototype and design for manufacture.
Generally speaking, we can divide product design into three stages:
- Design and prototyping of the mechatronic system
- Design and development of the application layer
- Preparation of the final design for manufacturing
From this simple generalization of what is a more complex and involved process, you can already see how almost 2/3 if not more of our process comes after our initial prototype system is built and tested. That difference in approach and investment, which we make when developing a product instead of working on a project, comes down to the difference between making something once and making it 1000 times. But it goes even further than that. Let’s look in more detail at those three stages.
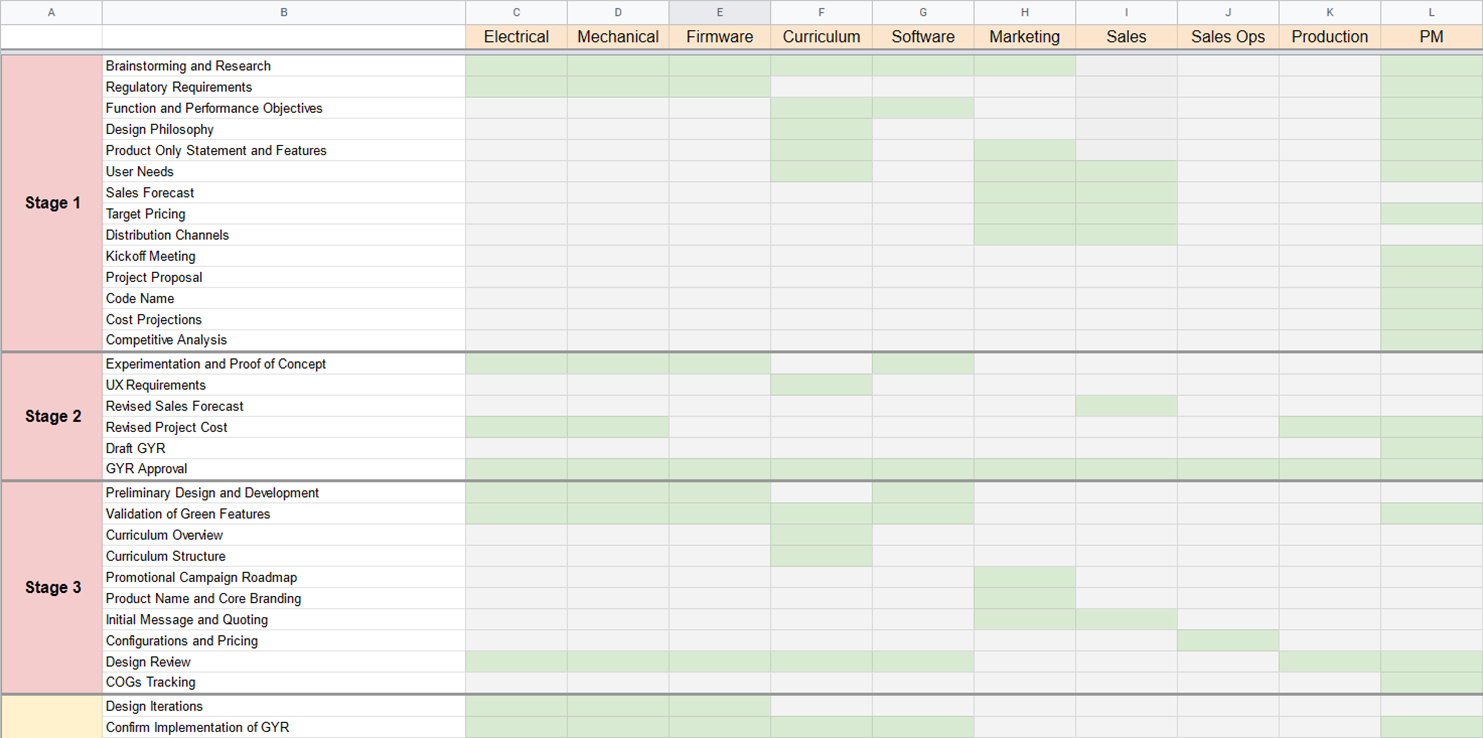
Our R&D development lifecycle for products is actually broken into six stages, and typically takes about 18 months to complete. We start by defining the goals of the product. We meet with customers and stakeholders, create a competitive analysis, define an academic philosophy detailing the desired student outcomes, and generally pitch the proposed development effort to the company management. From there, we perform a series of rapid proof-of-concept development cycles, but more importantly, we define the Green/Yellow/Red (GYR) for the product. That document essentially establishes the contract between the development team and our stakeholders detailing what the final product will do, what it may do depending on whether the team can overcome potential cost or technical obstacles, and what it will not do.
Then the team can embark on the first significant stage of development to create an initial prototype that satisfies the green elements of the design. From there, we test our “alpha” units, iterate on the design, and confirm that our goals are satisfied. We also hold our first production review to assess the manufacturability of the product. From there, we create “beta” units as a final step before shipping the first batch of products to customers. The final stage is to completely transition the development of the product from our R&D team to our production team.

However, once again, that process only covers a fraction of the true development of a product. As a company, it doesn’t matter how great a product is if we can’t effectively market and sell it. A large portion of our development effort also includes working with our sales and marketing team to position, train, and deliver the product.

But it doesn’t end there. We create products for our customers that are general-purpose academic platforms for teaching and research. To that end, we develop extensive curriculum, research-level examples, and documentation so they can be adopted efficiently and effectively into a wide variety of labs across a multitude of teaching and research applications. This effort often extends far beyond the completion of the development of the system itself.
Even the term “complete” is a misnomer in this case. We do our best to design our products for long-term manufacturability and worldwide distribution by paying attention to parts vendors, regulatory and certification requirements, and modular components. However, as we in the manufacturing industry know all too well, parts become obsolete, and shortages can occur. Keeping these considerations in mind early in the design process can pay dividends later when our products need to get assembled and out the door on time.

On that note, I should probably try to complete this post. There’s a rabbit hole of details and considerations when designing a mechatronic system for manufacturing, but that’s the point. Design projects offer essential experiences for students and even for our engineers to prototype systems, learn new skills, create one-off platforms for custom opportunities, or even as fun team-building activities. Still, there is a considerable gap between designing a system you need to build once and one you need to build hundreds of times for years to come. In the past, we have introduced concepts related to manufacturing into design curriculum to introduce students to the considerations that come into play when projects become products. I believe that even a series of “what if” scenarios introduced into capstone and design courses that encourage students to think critically about budget, manufacturing, sourcing, safety, etc., would pay dividends when they eventually start careers, especially as entrepreneurs.

